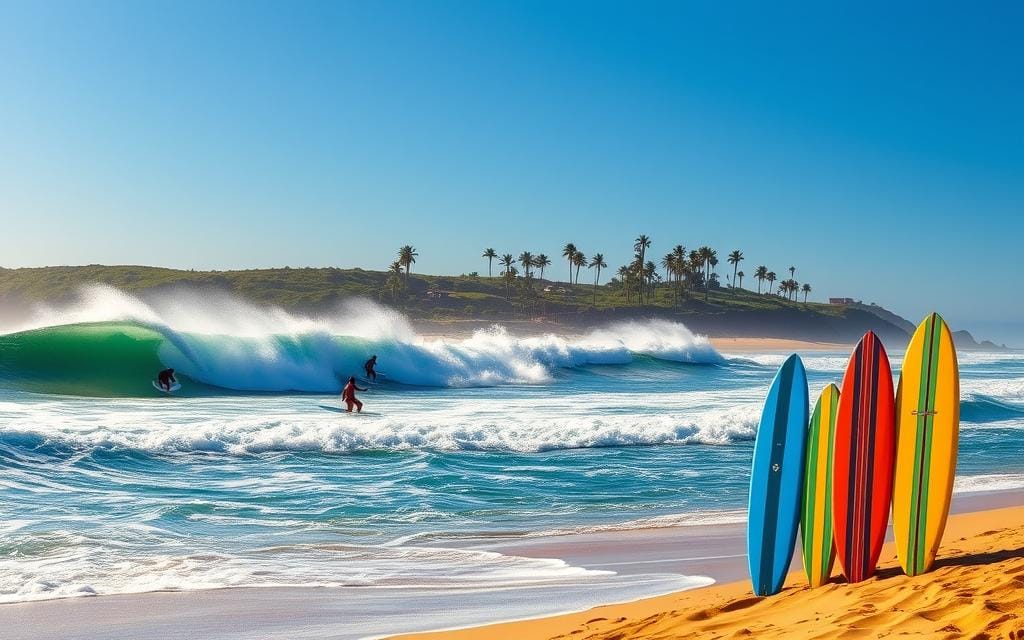
Beach photography looks simple, but creating images that feel vibrant, balanced, and professional requires intention. If you want to understand how to capture great beach photos, you must control light, composition, timing, and camera settings. The beach is a high-contrast environment with reflective sand, moving water, and unpredictable weather. Mastering these elements separates casual snapshots from compelling images. Beach conditions change rapidly, so preparation and awareness matter more than expensive gear. Whether you use a smartphone or a DSLR, knowing how to work with natural light and movement will dramatically improve results. The following guide explains practical techniques professionals use in coastal photography. Understand Light at the Beach Light is the single most important factor in how to capture great beach photos. Beaches reflect sunlight from sand and water, often causing harsh highlights and washed-out skies during midday. Shooting at the right time makes an immediate difference in image quality. The best time to photograph is during golden hour, shortly after sunrise or before sunset. The light is softer, warmer, and creates natural shadows that add depth. During these hours, skin tones look more flattering and the ocean gains texture instead of appearing flat. If you must shoot midday, reduce exposure slightly to prevent blown highlights. Use your camera’s exposure compensation to lower brightness by one-third to one full stop. This preserves sky detail and prevents overexposed sand. Cloudy days can be useful. Overcast skies act as a natural diffuser, producing even lighting that works well for portraits. Professionals do not avoid clouds; they adapt to them. Master Composition for Coastal Scenes Composition determines whether a beach photo feels intentional or random. The most effective tool is the rule of thirds. Place the horizon on the upper or lower third of the frame instead of the center. When emphasizing the sky, position the horizon low. When highlighting the ocean or foreground textures, position it higher. This creates visual balance and avoids static images. Use leading lines to guide the viewer’s eye. Shorelines, footprints, docks, and waves naturally create directional lines. Position yourself so these lines move toward your subject. Foreground elements add depth. Include shells, rocks, or textured sand in the lower frame. Depth transforms a flat beach snapshot into a layered, professional-looking image. Negative space also plays a role. A wide stretch of open sky or sand can emphasize isolation, calmness, or scale. Knowing when to simplify is part of learning how to capture great beach photos with intention. Control Exposure and Camera Settings Beach environments are bright and reflective. Automatic settings often overexpose images because cameras try to balance extreme brightness. Switching to manual or semi-manual modes provides better control. For sharp images in daylight, use a low ISO (100–200). This reduces noise and preserves detail. Pair it with a faster shutter speed if you want to freeze motion, such as splashing waves or running subjects. If your goal is smooth, silky water, slow the shutter speed. Use a tripod and a shutter speed of one to five seconds to create motion blur. This technique adds artistic softness to waves. Aperture affects depth of field. For landscapes, use a smaller aperture like f/8 to f/11 to keep foreground and background sharp. For portraits, use a wider aperture such as f/2.8 to blur the background and separate the subject. White balance also matters. Set it to daylight or cloudy mode rather than auto to maintain consistent color tones. Sand and ocean reflections can confuse automatic adjustments. Work With Movement and Wind Beaches are dynamic. Wind, waves, and people constantly move. Instead of fighting motion, use it creatively. For action shots, increase shutter speed to capture crisp detail in jumping water or flying hair. A speed of 1/1000 second freezes most motion effectively. This works well for sports or playful beach scenes. To create drama, photograph waves just before they crash. Watch patterns and anticipate timing. Professionals observe wave cycles rather than randomly pressing the shutter. Wind can add texture to clothing and hair in portraits. Position your subject so the wind flows naturally rather than directly into their face. Movement should look intentional, not chaotic. If sand is blowing heavily, protect your gear. Use lens hoods and avoid changing lenses in open wind. Equipment protection ensures consistency in learning how to capture great beach photos without interruption. Use Color and Contrast Strategically Color defines beach photography. Blue water, golden sand, and warm sunlight create strong natural palettes. However, over-saturation reduces realism. Shoot in RAW format if possible. RAW files preserve more detail and allow better control in post-processing. You can adjust highlights, shadows, and white balance without damaging image quality. Enhance contrast moderately to define waves and clouds. Increase clarity carefully to add texture to sand. Avoid pushing vibrance too far; subtle adjustments look more professional. Reflections offer unique color opportunities. Wet sand can mirror sunsets beautifully. Position yourself low to capture reflection symmetry for striking compositions. Silhouettes are powerful during sunset. Expose for the sky and let the subject fall into shadow. This technique simplifies the frame and emphasizes shape. Capture Strong Beach Portraits Portraits at the beach require attention to light direction. Position your subject with the sun behind them for a natural backlit effect. This prevents squinting and harsh facial shadows. Use reflectors if available to bounce light back onto the face. If you do not have one, light-colored sand can act as a natural reflector. Slight repositioning improves facial illumination instantly. Encourage natural movement. Walking along the shoreline or interacting with water creates authentic expressions. Stiff poses rarely feel genuine in coastal settings. Focus on the eyes. Even in wide beach scenes, sharp eyes maintain connection. Use single-point autofocus to ensure accuracy. Distance also matters. Step back and include environmental context for lifestyle-style portraits. Alternatively, move closer for emotional detail. Both approaches are valid depending on the story you want to tell. Plan Ahead for Professional Results Preparation separates amateurs from professionals. Check tide schedules to avoid unexpected water levels. Research weather forecasts to